Use Cloudflare Workers to Free Accelerate WordPress Blog
To improve user experience, websites always spare no effort to speed up loading times. To achieve this, Google launched the AMP project, and Baidu launched the MIP project. However, to get this effect, you need to deploy an additional set of website code, which is too cumbersome and increases development costs. But for users of Cloudflare CDN, there is a very convenient and quick choice — Cloudflare Workers. It completely preserves the original website effect without developing new code.
I have to say, Cloudflare is the best CDN provider in the world. Recently, they launched Cloudflare Workers with a free quota of up to 100,000 requests, allowing all static and non-login-required pages to run directly on the CDN, achieving a serverless state. Pages can load instantly. For a small blog like mine, there is no longer any need to worry about server issues.
So now the practical question is: how to enable Cloudflare Workers to accelerate my WordPress blog? Here is a step-by-step guide on how to enable Cloudflare Workers to speed up your entire WordPress site. It can be done in 20 minutes.
Steps to implement:
1. Install Cloudflare Page Cache WordPress plugin
Log in to your WordPress admin dashboard, add a new plugin, search for “Cloudflare Page Cache”, then install and activate it. If you know how to install WordPress plugins, this step is straightforward.
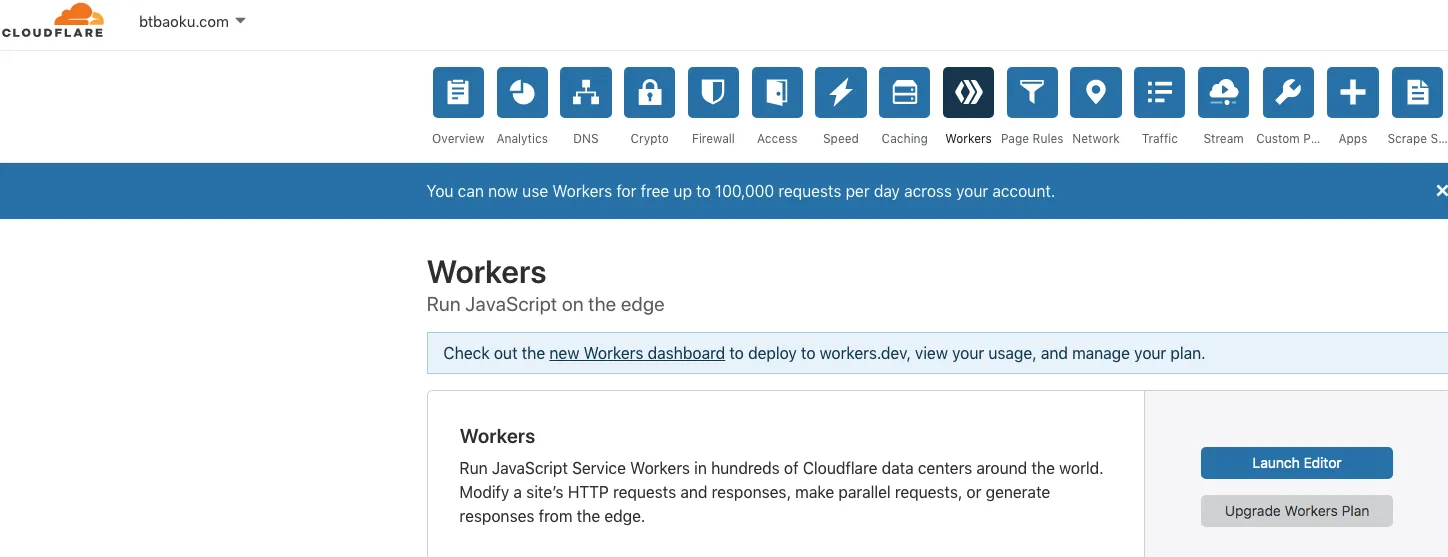
2. Enter the Cloudflare dashboard for your site bobobk.com, then go to Cloudflare > Workers
Log in to Cloudflare, select your site, and in the bottom right corner click “Launch Editor”.
3. Click ‘Add Script’ to add a new script

Name it bobobk.
4. Edit the bobobk script
Delete the default content. Get the required script from the following GitHub link and paste it here, then save it:
https://raw.githubusercontent.com/cloudflare/worker-examples/master/examples/edge-cache-html/edge-cache-html.js
You need to modify three places with your own Cloudflare account details:
email: ""— Your Cloudflare account email (found at https://dash.cloudflare.com/profile)key: ""— Your global API key, available under the API tokens section at the same profile page (you may need to enter your password to view it).zone: ""— Your site’s Zone ID, which is unique for each site. Find it at https://dash.cloudflare.com/ by selecting your site bobobk.com.
Here is what it looks like:

5. Add a ‘Route’
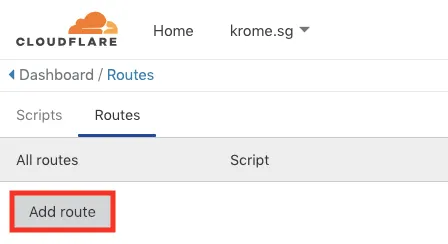
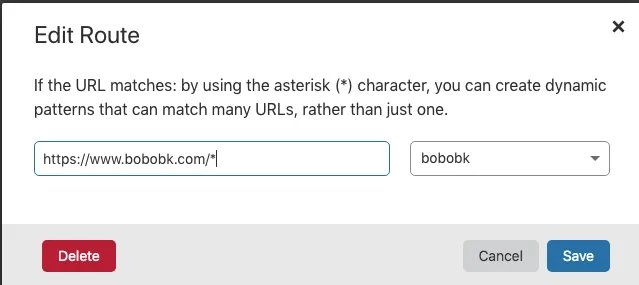
6. Create the route
Add the previously created bobobk worker to cover the entire WordPress site.
At this point, the deployment of Cloudflare Workers to accelerate your WordPress site is complete. Isn’t it convenient? If you want to apply this to other sites, check the Cloudflare Workers documentation. For users in mainland China, enabling free Cloudflare Workers can still significantly improve loading speeds despite CF servers being located in the US.
- 原文作者:春江暮客
- 原文链接:https://www.bobobk.com/en/434.html
- 版权声明:本作品采用知识共享署名-非商业性使用-禁止演绎 4.0 国际许可协议进行许可,非商业转载请注明出处(作者,原文链接),商业转载请联系作者获得授权。