Deploying a Flask Docker App Using Okteto’s Free Container
I just saw a post on the forum about Okteto’s free containers, and since I hadn’t registered before, I decided to deploy my site’s Flask app using Okteto’s free container. Okteto’s Kubernetes free plan offers generous capacity: 4-core CPU, 8GB RAM, and 10GB SSD — basically a great VPS, and completely free. Here’s a guide on how to deploy with Okteto. The deployment process includes:
- Registering Okteto with GitHub
- Installing Kubernetes and Okteto
- Building and uploading the Docker image
- Writing and deploying the YML config file
Registering Okteto with GitHub
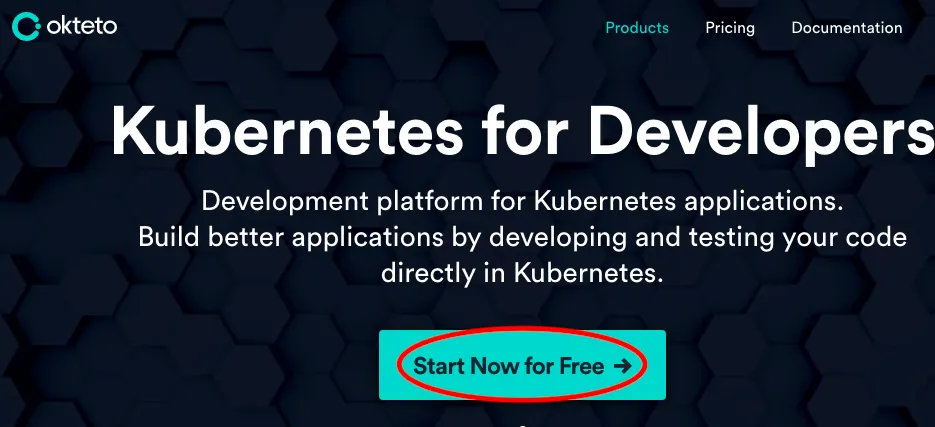
Go to the Okteto official site and register for a free account
Click to enter and you’ll see the GitHub login screen — currently, registration is only available via GitHub
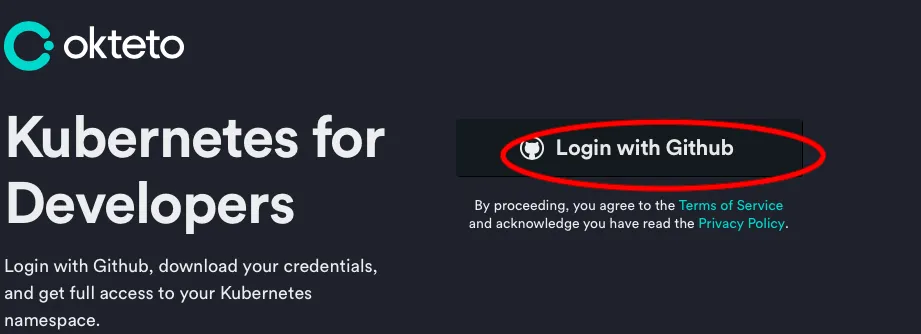
Once authorized via GitHub, registration is complete.
Download the Kubernetes config file
After registering, you’ll need to deploy apps using Okteto’s Kubernetes cluster, so you need to download your account’s config file.
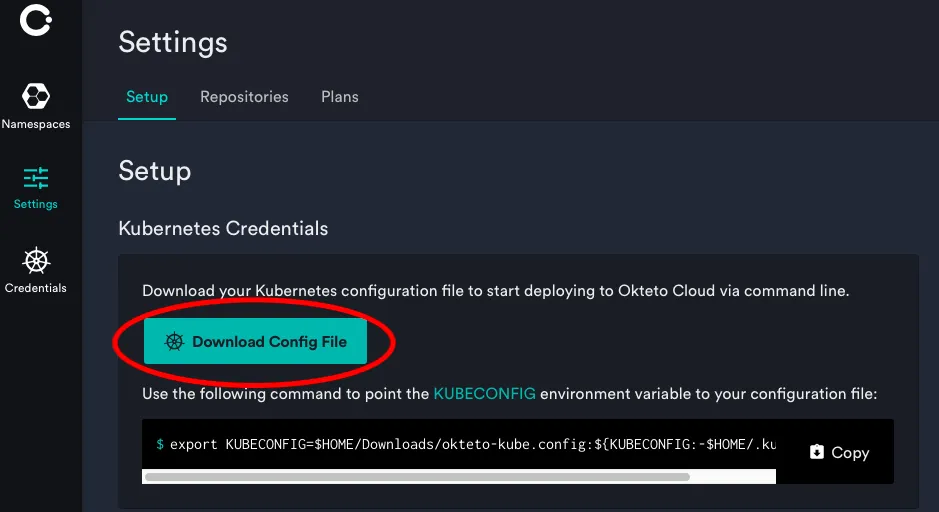
Save the file — you’ll need it later.
Install Kubernetes and Okteto
This step is mainly to configure the local environment and necessary tools. First, create a config file in your home directory.
Upload the config file
My server uses CentOS 7, so I’ll use that as an example. Create the file .okteto_kube.config in your home directory.
vi .okteto_kube.config
## Paste the downloaded config file content here, or upload via SSH:
## scp okteto_kube.config root@your_ip:~/.okteto_kube.config
# Use :wq to save in vi
Set environment variable
Export the config:
export KUBECONFIG=$HOME/.okteto_kube.conf
It’s recommended to add this to your shell profile (example using bash):
echo "export KUBECONFIG=$HOME/.okteto_kube.conf" >> ~/.bashrc
Install kubectl and Okteto
First, install the Kubernetes CLI kubectl, used for interacting with the Kubernetes API:
curl -LO https://storage.googleapis.com/kubernetes-release/release/`curl -s https://storage.googleapis.com/kubernetes-release/release/stable.txt`/bin/linux/amd64/kubectl
Next, install the Okteto CLI, useful for syncing local changes in real-time:
curl https://get.okteto.com -sSfL | sh
After installing the software, test your connection to the Kubernetes cluster using a sample Python project:
git clone https://github.com/okteto/python-getting-started
cd python-getting-started
kubectl apply -f k8s.yml
kubectl get pods
NAME                        READY   STATUS    RESTARTS   AGE
frontend-5d6ff65968-h2hdh   1/1     Running   0          58m
hello-65d8867867-k44l7      1/1     Running   0          47m
# If you see similar output, setup was successful.
Upload Docker image and deploy app
Kubernetes is like an advanced version of Docker Compose — any Compose-based app can migrate to Kubernetes. This project uses Nginx as a frontend and Flask for the backend.
If you don’t want to customize configurations, skip to the final section with the YML deployment script.
Build the Nginx frontend Docker image
Use the game directory as the Flask backend, and your blog site’s static files in web. default.conf is the Nginx config file.
Contents of default.conf:
upstream backend {
    server hello;
}
server {
    listen 80;
    server_name _;

    location / {
        root /usr/share/nginx/html;
        index index.html index.htm;
    }

    error_page 500 502 503 504 /50x.html;
    location = /50x.html {
        root /usr/share/nginx/html;
    }

    location /game/ {
        proxy_pass http://backend;
    }
}
Build your Nginx Docker image:
# vi Dockerfile
FROM nginx

RUN rm /etc/nginx/conf.d/default.conf

COPY web/* /usr/share/nginx/html
COPY default.conf /etc/nginx/conf.d/default.conf
Build and push the image:
docker build -t chunjiangmuke/nginx .
docker push chunjiangmuke/nginx
Build the Flask backend Docker image
Modify the sample app for your needs. Flask runs on port 80.
Contents of app.py:
import os
import pydevd_pycharm
from flask import Flask

app = Flask(__name__)

@app.route('/')
def hello_world():
    msg = 'Hello World!'
    return msg

def attach():
  if os.environ.get('WERKZEUG_RUN_MAIN'):
    print('Connecting to debugger...')
    pydevd_pycharm.settrace('0.0.0.0', port=3500, stdoutToServer=True, stderrToServer=True)

if __name__ == '__main__':
  print('Starting hello-world server...')
  app.run(host='0.0.0.0', port=80)
Create Dockerfile:
FROM python:3-slim as builder

WORKDIR /usr/src/app
COPY requirements.txt requirements.txt
RUN pip install -r requirements.txt
COPY app.py app.py
CMD ["python", "app.py" ]

#######################################

FROM builder AS dev

COPY requirements-dev.txt requirements-dev.txt
RUN pip install -r requirements-dev.txt

#######################################

FROM builder AS production

EXPOSE 80

CMD ["python", "app.py" ]
Build and push the image:
docker build -t chunjiangmuke/flask:latest .
docker push chunjiangmuke/flask:latest
Write YML config files and deploy
You’ll need two deployments and two services — one for frontend, one for backend.
Backend (k8s.yml)
apiVersion: apps/v1
kind: Deployment
metadata:
  name: hello
spec:
  selector:
    matchLabels:
      app: hello
      tier: backend
      track: stable
  replicas: 1
  strategy:
    type: Recreate
  template:
    metadata:
      labels:
        app: hello
        tier: backend
        track: stable
    spec:
      containers:
        - name: hello
          image: "chunjiangmuke/flask"
          ports:
            - name: http
              containerPort: 80

---
apiVersion: v1
kind: Service
metadata:
  name: hello
spec:
  selector:
    app: hello
    tier: backend
  ports:
  - protocol: TCP
    port: 80
    targetPort: http
Frontend (k9s.yml)
apiVersion: v1
kind: Service
metadata:
  name: frontend
spec:
  selector:
    app: hello
    tier: frontend
  ports:
  - protocol: "TCP"
    port: 80
    targetPort: 80
  type: LoadBalancer
---
apiVersion: apps/v1
kind: Deployment
metadata:
  name: frontend
spec:
  selector:
    matchLabels:
      app: hello
      tier: frontend
      track: stable
  replicas: 1
  strategy:
    type: Recreate
  template:
    metadata:
      labels:
        app: hello
        tier: frontend
        track: stable
    spec:
      containers:
      - name: nginx
        image: "chunjiangmuke/nginx:latest"
        lifecycle:
          preStop:
            exec:
              command: ["/usr/sbin/nginx","-s","quit"]
One-click deployment script
#!env bash
wget www.bobobk.com/wp-content/uploads/04/k8s.yml
wget www.bobobk.com/wp-content/uploads/04/k9s.yml
kubectl apply -f k8s.yml
kubectl apply -f k9s.yml
Then you’re ready to go! Okteto provides a domain for the frontend service with HTTPS enabled automatically.
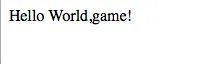
Here is my deployed Flask app. Check the homepage and /game to verify deployment:
Homepage

Conclusion
This article demonstrates how to build a Kubernetes-based deployment using Okteto’s free resources, with Nginx as the frontend and Flask as the backend for API or web service use. Since it promises to remain free, please use these public resources responsibly to ensure sustainable access.
- 原文作者:春江暮客
- 原文链接:https://www.bobobk.com/en/810.html
- 版权声明:本作品采用知识共享署名-非商业性使用-禁止演绎 4.0 国际许可协议进行许可,非商业转载请注明出处(作者,原文链接),商业转载请联系作者获得授权。